Before demolition starts, decide where each fixture goes, how the shower will be waterproofed, and where the exhaust fan will vent. Those three choices set what happens inside the walls and floor, and they're expensive to change later. This bathroom remodel planning checklist helps you settle them while you can still compare layouts and get a quote for the work you actually want.
If you're considering bathroom remodeling in Albuquerque, start with a measured sketch of the room and a list of what bothers you about it. Bring both to the first walkthrough.
Decide What Stays and What Moves
Good bathroom layout planning starts with the fixtures you already have. If the toilet, shower, and vanity are in workable spots, keeping them saves the most money. Moving one is worth it when it clears a tight walkway or makes the room easier to use, but the cost is in the pipes, not the fixture.
On your sketch, mark the door swing, the path into the shower, and the space in front of the vanity. Check whether the vanity drawers open with the door closed and whether you can reach the shower valve without standing in the spray. If someone in the house needs a low-threshold entry, grab bars, or a seat, plan the blocking and floor now, while the walls are open.
Plan Bathroom Plumbing Changes Early
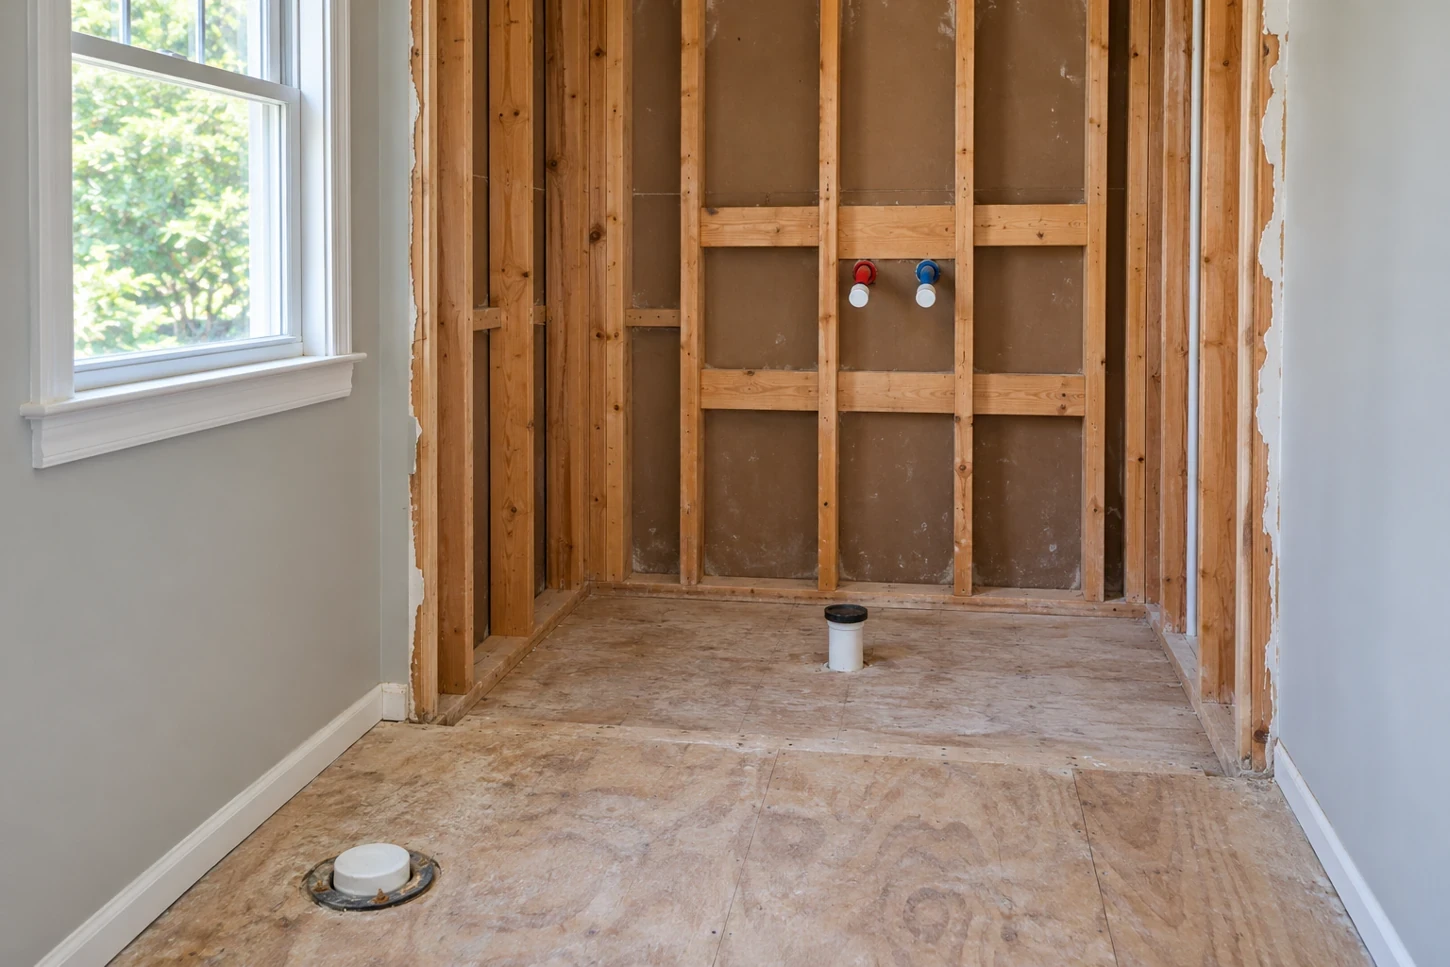
Bathroom plumbing changes happen inside walls and floors, so they're hard to price until the plumber sees the route. Ask the plumber to walk you through the rough-in, the pipes and fittings installed before walls and floors are closed. If your home sits on a concrete slab, moving a toilet or shower drain usually means cutting and patching the slab. If you're adding a new bathroom rather than remodeling one, our cost to add a bathroom guide covers new drain and supply runs, and our plumbing services page lists the pipe work we handle.
Ask which pipes would move, how the drain and vent would connect, and what the quote assumes about the old pipes. Reworking plumbing is on the list of projects that need a permit in Albuquerque, according to the city's Building Safety FAQs (checked November 2026). Our bathroom remodel permit guide explains what triggers a permit for the rest of the work.
Size the Exhaust Fan and Plan Its Route
The fan has to send damp air outdoors. The Department of Energy's Building America guide to bathroom exhaust fans says to vent outside, never into the attic or a crawlspace. The same guide cites the 2021 International Residential Code, the base for New Mexico's residential building code: at least 50 cubic feet per minute (cfm) for a fan that runs only when needed, or 20 cfm for one that runs continuously. Ask the installer to show you where the duct runs and where it ends. A grille in the ceiling tells you nothing about what happens above it.
The Home Ventilating Institute (HVI) recommends sizing by room size:
- Bathrooms up to 100 square feet: 1 cfm per square foot. An 8-by-5-foot bath needs at least a 40 cfm fan.
- Bathrooms over 100 square feet: 50 cfm each for the toilet, shower, and tub, and 100 cfm for a jetted tub.
- Run the fan for 20 minutes after a shower. A timer switch does this for you.
- Leave a gap under the door so replacement air can get in.
A long duct or several bends cuts airflow, so choose the fan and the duct route together.
Plan Lights and Outlets Around How You Use the Room
Put mirror lights where they light your face, not the top of your head. Check that an outlet will reach a hair dryer or toothbrush charger without a cord across the sink. If you're adding a bidet seat, heated floor, or lighted mirror, give the electrician the product specs before rough-in.
A ground-fault circuit interrupter (GFCI) shuts off power when electricity starts leaking to ground, such as through water or a person. The U.S. Consumer Product Safety Commission's GFCI fact sheet credits them with a key role in reducing electrocutions. Ask the electrician to confirm which bathroom outlets and equipment will have GFCI protection.
Choose a Shower Waterproofing System Before Tile
Tile and grout are not waterproof. The waterproof layer sits behind them, so pick the method before you pick the drain and tile. Ask where the membrane goes, how it connects to the drain, and how corners, seams, and valve openings will be sealed. Systems like the Schluter shower system pair a surface membrane with a matching drain. Whatever the installer uses, the parts should come from one tested system.
Decide on the threshold, niches, and benches at the same time. A curbless entry changes the floor build-up and drain layout. A niche can land on a wall full of pipes. These are easy changes on paper and costly ones after framing.
Ask for a flood test before tile goes on. In a typical test, the drain is plugged, the shower base is filled with water, and the level is checked after about 24 hours, as Schluter's water test guide describes. Put the test in the written quote so you can compare bids on the same work.
Pick Materials That Fit the Room and the Schedule
Choose the models that affect plumbing, wiring, or layout first. A vanity's drawers can hit the drain, a shower valve needs its matching trim, and a mirror can cover the spot planned for a light. Give the installer the model numbers and check stock before demolition is scheduled.
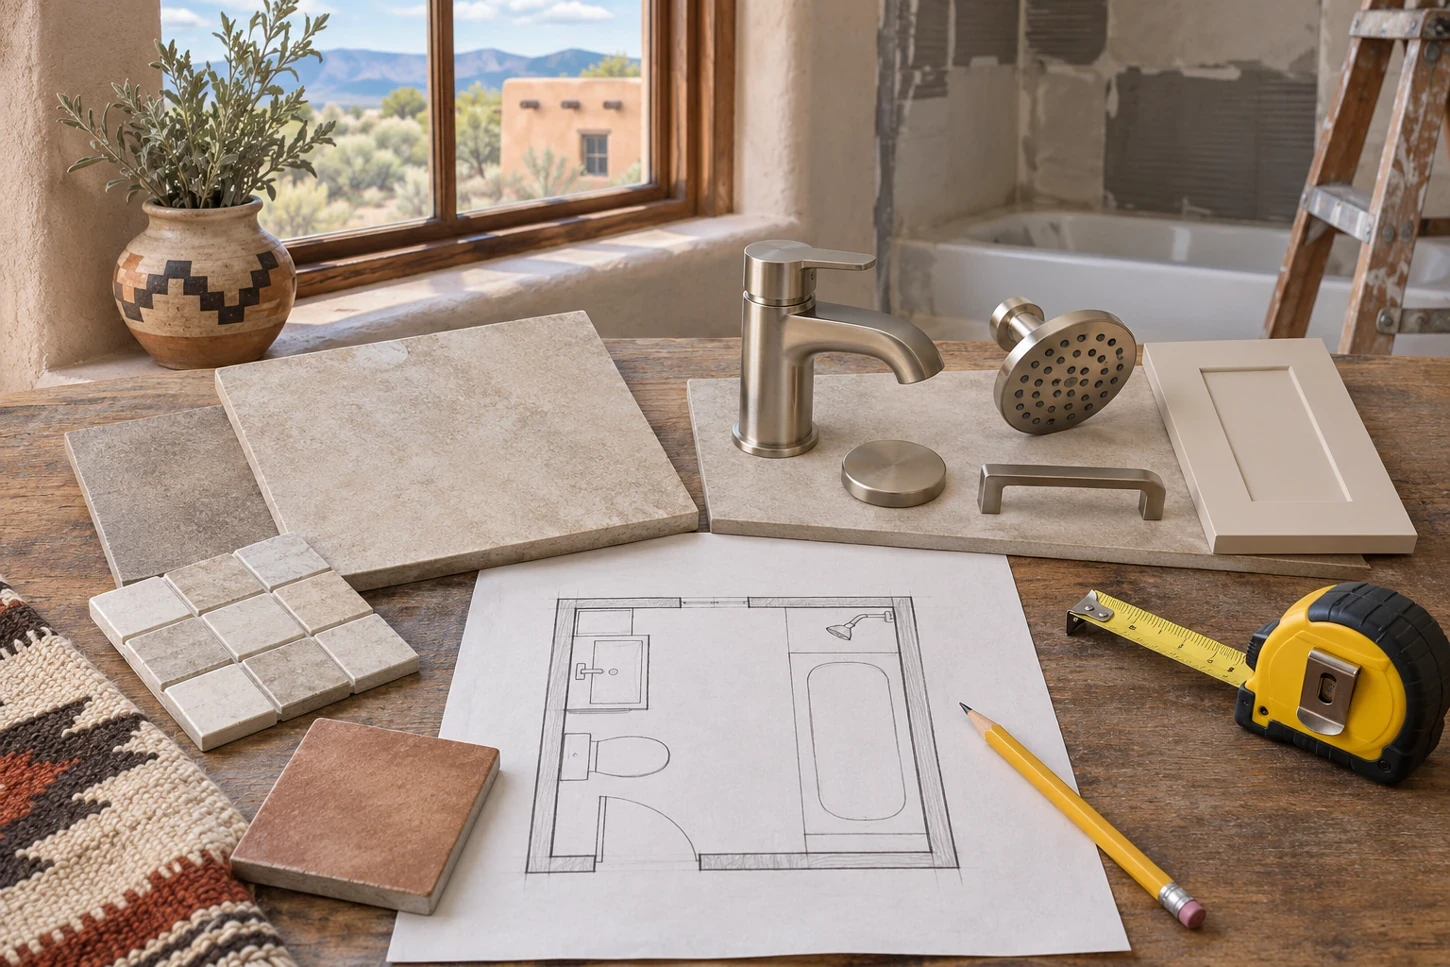
Look at floor and shower tile in the bathroom under your own light. Ask the supplier whether the floor tile is rated for wet areas and what care it needs. Add every model and finish to your bathroom remodel planning checklist so the crew can check deliveries before install day. If something is back-ordered, agree on who can approve a substitute.
Use This Bathroom Remodel Planning Checklist Before Demolition
Walk through this list with your contractor and write each decision into the scope. If an item depends on what the crew finds behind the walls, write down the assumption and how you'll approve changes.
|
Decision |
What to Confirm in Writing |
|
Fixture layout |
Which fixtures stay or move, clearances, and how moved pipes will run |
|
Shower |
Waterproofing system, matching drain, threshold, and flood test before tile |
|
Ventilation |
Fan cfm, duct route, outdoor vent location, and timer switch |
|
Electrical |
Light and outlet locations, equipment circuits, and GFCI protection |
|
Materials |
Model numbers, stock dates, and who approves substitutes |
|
Permits and changes |
Who pulls permits and how hidden problems will be priced |
These are the bathroom remodeling steps that cost the most to change once work starts.
Compare Two Layouts Before You Approve One
Here is an illustrative example. An Albuquerque homeowner has a narrow hall bath with a door that swings into the vanity. The first sketch moves the toilet to the far wall to open the walkway. At the walkthrough, the plumber explains the move means cutting the slab. The homeowner also learns the old fan vents into the attic, so the quote needs a new duct to the outside.
A second layout keeps the toilet in place, uses a shallower vanity, and keeps room to step out of the shower. That frees money for the exhaust duct and a properly waterproofed shower. The homeowner can now compare both layouts against the original goal. Ask for written scopes on any option you're seriously considering. For budget ranges, see our New Mexico bathroom remodel cost guide.
Bring Your Sketch and Open Questions to a Walkthrough
Gather photos, a sketch, and a list of what you want to keep. Mark the choices you're still weighing, such as moving the toilet or swapping a tub for a shower. If your bathroom remodel planning checklist still has open items, note which ones could change the layout or the price.
To go over those choices in the room, contact Happy Homes' bathroom remodeling team and share your sketch so the visit can focus on what's practical before work starts.